Thinking about upgrading your concealed carry experience with a Clipdraw holsterless gun clip?
You’re in the right place!
Whether you’re new to Clipdraw or simply want a refresher, installing one of our belt clips is a straightforward process that you can easily complete in a few minutes.
In this guide, we’ll walk you through the two primary installation methods (Pin Install and Slide Cover Plate Install) to help you get started with confidence.
Before we begin, we just want to offer a quick but crucial reminder: safety first.
Always ensure your firearm is unloaded, with the chamber cleared, before beginning the belt clip installation process.
Follow all manufacturer safety guidelines and take your time to complete each step carefully.
Pin Installation of Clipdraw Belt Clip
The pin install method is designed for popular pistols such as the Ruger LCP, LCP2, LC9, LC9S/EC9S, and the Smith & Wesson Bodyguard .380.
If you own one of these models, follow these simple steps to attach our holsterless waistband carry clip securely:
- Locate the Rear Frame Pin: At the back of your firearm, just above the grip, you’ll find the rear frame pin.
- Remove the Pin: Using a punch and mallet, gently tap to remove the rear frame pin.
- Insert the Internally Threaded Pin: Place it into the frame pin hole from the left side of the firearm.
- Attach the Clipdraw Belt Clip: Align the clip on the right side of the firearm and secure it using the provided screw. Tighten it for a firm hold.
Pro Tip: The screw hole in the Clipdraw is slightly offset to ensure a snug and secure attachment.
Slide Cover Plate Installation of Clipdraw Belt Clip
For owners of Glock and other slide plate-style firearms, the slide cover plate install method is just as straightforward.
This method works with a range of Glock models, including 9MM, .40, .357, 10MM, .45, Glock 42, Glock 43, 43X, and 48.
It also applies to the Smith & Wesson Shield, M&P, and the Springfield XDS, XD, XDM, and XD SubCompact.
Follow these steps for an easy installation:
- Remove the Slide: Refer to your specific firearm’s owner manual to safely detach the slide from the frame.
- Disassemble the Slide Components: Next, take out the barrel and recoil spring assembly.
- Prepare the Slide: With the muzzle down, hold the slide firmly on a flat surface.
- Release the Slide Cover Plate: Use a pin punch or small screwdriver to push the black plastic spacer sleeve toward the muzzle.
- Remove the Cover Plate: Keep your thumb over the opening to prevent spring-loaded components from popping out.
- Install the New Slide Cover Plate: Finally, align it properly and mount the Clipdraw belt clip using the included screws and washers.
Pro Tip: Always maintain pressure on the exposed opening when removing the slide cover plate to prevent internal components from shifting.
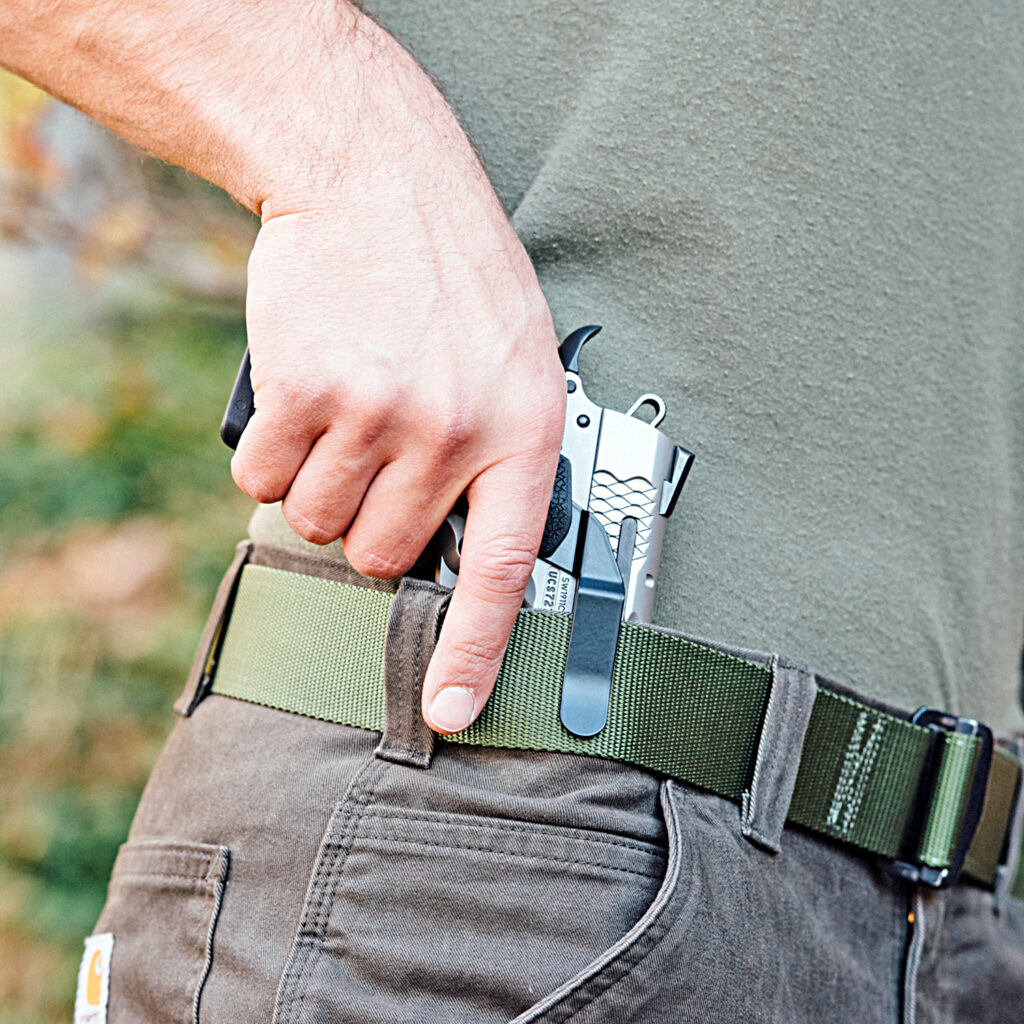
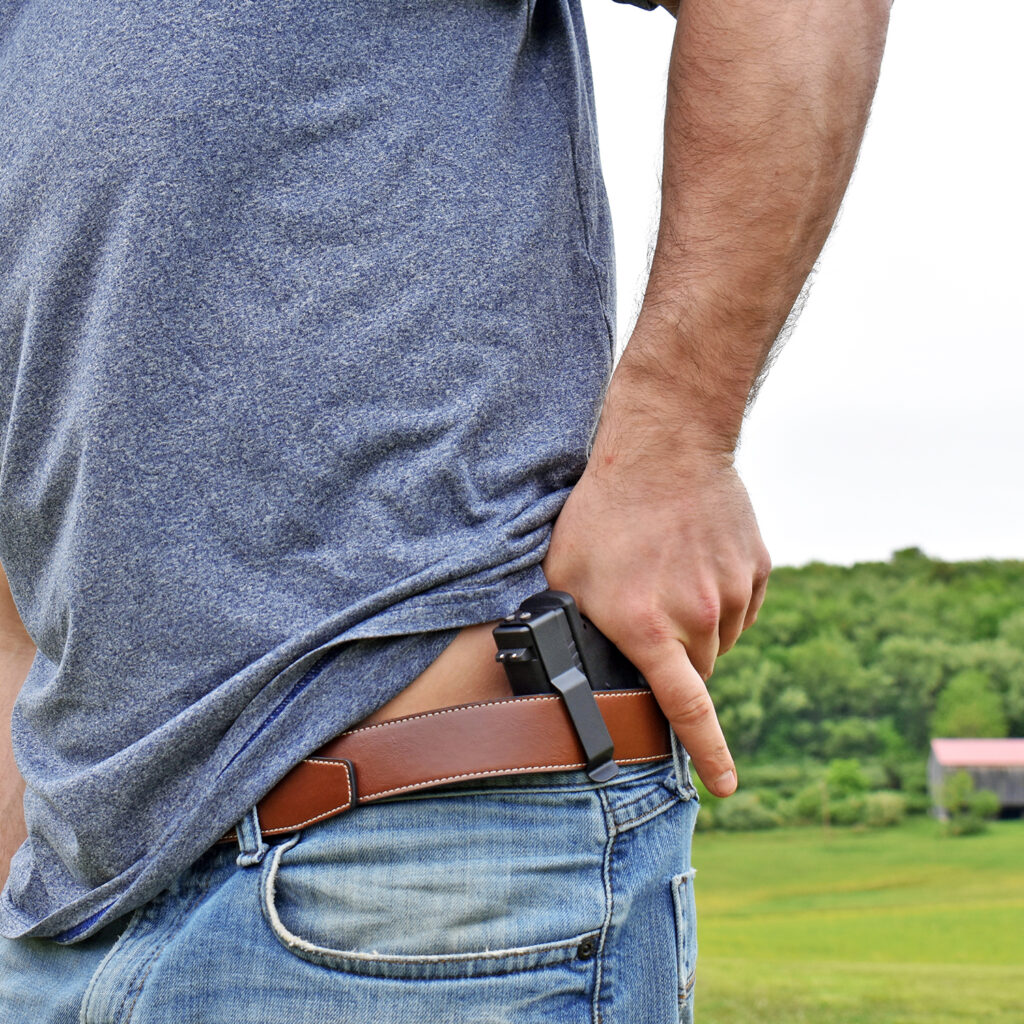
Why Choose Clipdraw for Holsterless Carry?
With a Clipdraw concealed carry clip, you get the convenience of lightweight, secure, and discreet carry without the bulk of traditional holsters.
Whether you’re using the pin or slide cover plate install methods, our belt clip offers a reliable
To find and install the perfect Clipdraw for your firearm, shop our selection of belt clips to find the best option for your specific pistol.