Part of gun ownership is understanding how to maintain it well. While it may occasionally require maintenance by a professional gun shop, the regular upkeep of your weapon is your responsibility as a gun owner.
That means that it is important for you to understand how to safely disassemble your Glock for maintenance and cleaning.
Why You Need to Know How to Disassemble Your Glock Pistol
There is a myriad of reasons why you should be familiar with disassembling your Glock.
First among these is that you need to understand how to do it so that you can clean your pistol. Regularly cleaning your Glock is an essential element of gun ownership. It helps to prevent misfires and keeps your weapon accurate. A major component of cleaning and lubricating your Glock is disassembling it safely and properly. This has the added benefit of keeping your weapon in your hands and not in the repair shop.
Taking apart your sidearm also helps you to better understand the weapon itself. You’ll know how it works, and what the moving piece is that is involved with firing your Glock. Externally, your pistol looks like a single, smooth until. Taking it apart allows you to experience the well-engineered machine that a Glock is.
Being familiar with taking it apart and putting it back together will also assist you in identifying when the Glock may not be firing just right. If you are aware of the inner workings, when you re-assemble it after cleaning and test dry-fire it, you’ll know where to look if something feels off.
How to Disassemble Your Glock and Clean It
Do not complete steps 1 and 2 unless the process has your full attention. Unintentional discharges happen most frequently when clearing and dry firing a Glock when the user is not paying attention to the task at hand.
Step 1: Clear the Pistol
Before you begin cleaning your Glock pistol, you must make sure that you and all others around you are safe. This means ensuring that your pistol is unloaded before you begin to disassemble and clean it. You should also ensure that there is no ammunition in the area in which you are cleaning the weapon.
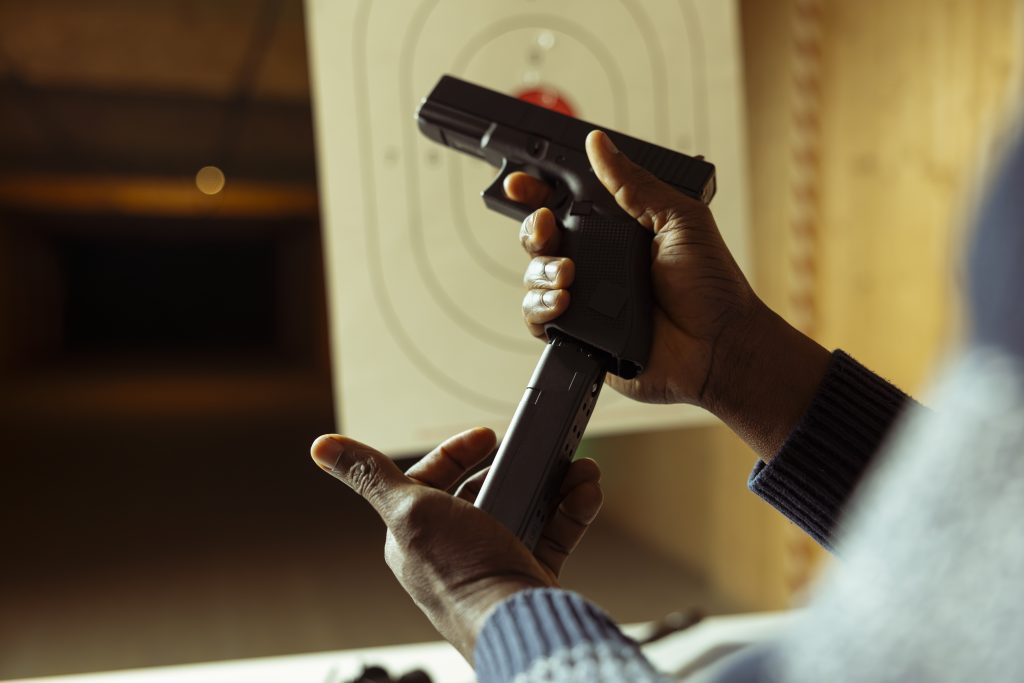
Begin by safely removing the magazine with the gun facing away from you. It’s important to remove the magazine so that a round is not inadvertently loaded after checking the chamber.
Once the magazine is removed, then rack the slide to eject any round that might be in the chamber.
With no magazine in the well and the chamber cleared, lock the slide back and open. Check the chamber visually and with your finger, as well as the bolt face and the magazine well to verify that the gun has been completely cleared.
Step 2: Reset the Trigger with a Dry-fire
To disassemble a Glock pistol, the weapon must be dry-fired. That is why it is crucial to begin by verifying that the weapon is clear before continuing on.
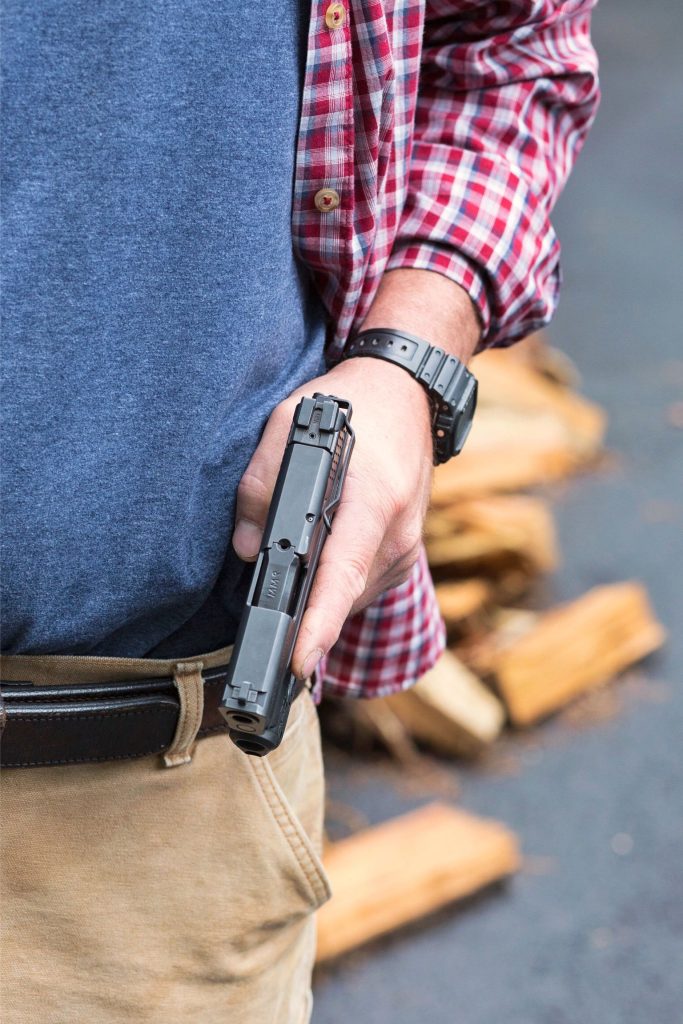
Point the gun away from you or any other people. Rack the slide and close the action. Ensure once more than the chamber is clear.
While the slide is in battery, point the Glock pistol in a safe direction – again, away from you or where anyone else may be – and depress the trigger. You’ll feel the click of the firing pin. You cannot remove the slide if the trigger is not in the rearward position.
Step Three: Disassemble the Glock Pistol
Below are the basic steps for disassembling your Glock. However, you should also consult your owner’s manual for the manufacturer’s precise instructions regarding your model.
When you disassemble the Glock pistol, you’ll be separating it into its four main components: the slide, the barrel, the guide rod/recoil spring assembly, and the frame/receiver.
Remove the Slide
While pointing the Glock in a safe direction, grasp the weapon with your fingers over the top of the rear portion of the slide and with your thumb under the slide and along the grip.
Pull the slide lock down by grasping it on both sides with the thumb and forefinger of your other hand. Continue the downward pressure on the slide lock while releasing the slide, being careful the slide does not fall and impact a hard surface, as this could damage the guide ring.
Remove the Recoil Spring and Barrel
Once you’ve removed the slide, take the recoil spring out, and then remove the barrel.
Slide Cover Plate
Remove the slide cover plate by pushing down on the firing pin spacer sleeve, releasing it from the locked position. You can now slide the cover plate off with your thumb. If the slide cover plate is stiff – for instance, if the weapon is new – you can use a screwdriver to get it moving and then complete the action with your thumb.
Next, remove the extractor depressor plunger and then the firing pin assembly. Push down on the firing pin safety to remove the extractor and then last the firing pin safety itself.
Disassemble the Glock Receiver
Remove the locking block pin, then the trigger pin. This may require working the slide stop lever back and forth. When reassembling your Glock you’ll want to make sure that the stop lever sits down in the notch on the trigger pin.
You can now lift the slide stop lever out of the receiver. Next, remove the locking block by prying it up, then push out the trigger mechanism housing pin on the backstrap by pulling the trigger while the trigger bar is out.
Once complete, your weapon is completely disassembled and ready for cleaning and lubrication.